Xplanet desktop background on a mac
Posted by mikael on 2010-02-28 01:54, section: Hacks
I recently set up my iMac to automatically display a background generated by Xplanet and since there seem to be relatively few guides on how to do this I'll attempt to document how I did this. I apologize in advance for any factual errors as this guide is written after I actually set everything up.
I'm assuming that you're running OS X for this exercise although large parts should be usable with other operating systems as well.
Installing the necessary software
First off you should go to macports.org and install MacPorts as you'll use this to install some other software that you'll need.
In addition to MacPorts you'll also need to install the latest version of Xcode for your version of OS X and the X11 extra package which should be on your OS X install disc (I believe it is also available from somewhere on apple.com).
Once MacPorts has been installed you can open a terminal and run the following commands to install wget, Xplanet and ImageMagick, after each command there will be a fairly lengthy compilation and installation process:
$ sudo port install wget
$ sudo port install imagemagick
$ sudo port install xplanet
Fetching some images
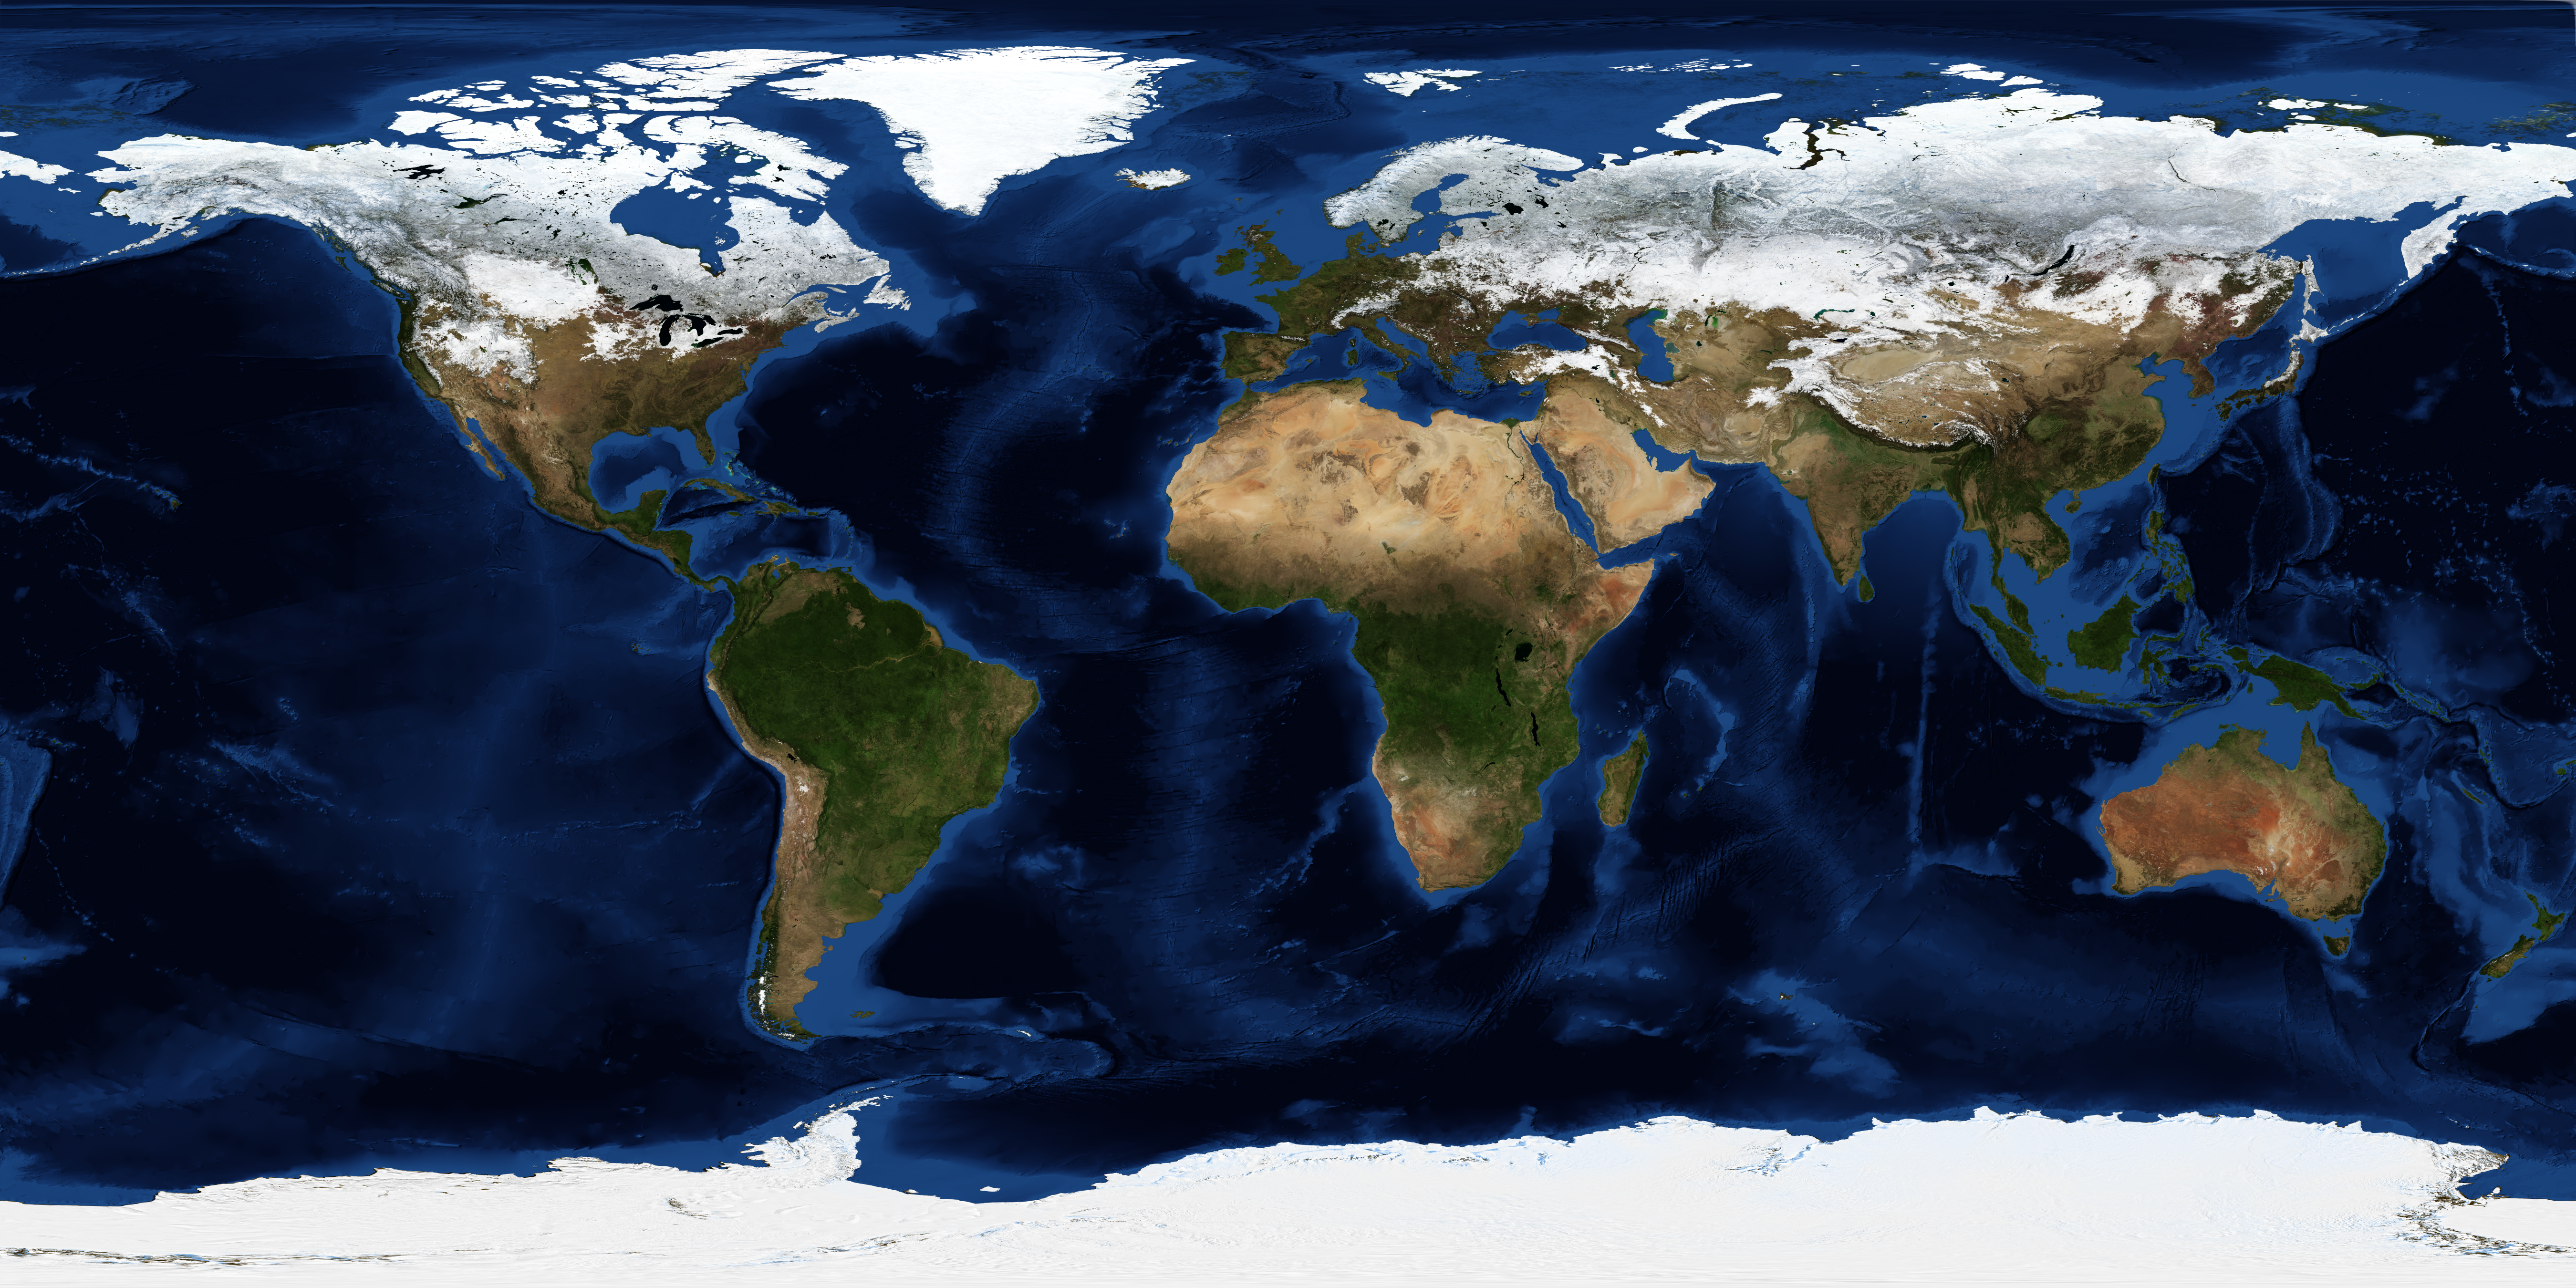
Next up you'll need some images, more specifically you'll need a daylight image and a nighttime image (and later on we'll also fetch a cloud map). For this guide we'll use NASA's Blue Marble images, the one I used is this one but there are plenty of others available. For the nighttime image we once again go to NASA, this time to grab the Earth Lights image (if the links stop working you can just google "earth lights site:nasa.gov" and "blue marble next generation site:nasa.gov" to find the pages). If you want to you can resize these images so that the width matches that of your monitor (less work for Xplanet that way).
After downloading the images you should place them in /Users/yourusername/.xplanet/ and name them day.jpg and night.jpg (You'll also have to create the directory ~/.xplanet).
Next up is the cloud image, for this we'll use the one available on the Xplanet site and we'll use the script below to fetch it:
#!/bin/bash
outputdir="/Users/yourhomedir/.xplanet" # CHANGE THE PATH!

/opt/local/bin/wget -q http://xplanet.sourceforge.net/clouds/clouds_2048.jpg \
-O $outputdir/cloud.jpg
Save the script as ~/.xplanet/cloudfetcher.sh and type in "crontab -e" in your terminal, and add the line below (and change the path).
15 */3 * * * /Users/yourhomedir/.xplanet/cloudfetcher.sh
After you've done this you can run cloudfetcher.sh once just to make sure it downloads the image (and so you don't have to wait until the next time your cron job runs to get the cloud map).
Configuring Xplanet
Next up you'll need a config file for Xplanet, I'll assume you'll want it to be ~/.xplanet/config, just add the following block of text to that file and save it:
[earth]
map=day.jpg
night_map=night.jpg
cloud_map=cloud.jpg
Putting it all together
Now we're just about ready to try this thing out. Create a file called ~/.bgcreator.sh and put the folllowing in it:
#!/bin/bash

xplanetcmd="/opt/local/bin/xplanet"
config="/Users/yourhomedir/.xplanet/config"
outdir="/Users/yourhomedir/Pictures/xplanet"
tmpdir="/tmp"

# Make sure output dir exists
if [ ! -d "$outdir" ]; then
        mkdir -p "$outdir"
fi

# Generate a random string of numbers for the filename
charmatrix="0123456789"
while [ ${n:=1} -le 8 ]
do
        randstring="$randstring${charmatrix:$(($RANDOM%${#charmatrix})):1}"
        let n+=1
done

$xplanetcmd -config $config --quality 95 -verbosity 0 --num_times 1 \
--output $tmpdir/rectangular.jpg --geometry 2560x1280 --projection rectangular &> /dev/null

# Add black borders
/opt/local/bin/convert $tmpdir/rectangular.jpg -fill black\
-draw "rectangle 0,0,2560,100" $tmpdir/rectangular.jpg
/opt/local/bin/convert $tmpdir/rectangular.jpg -fill black\
-draw "rectangle 0,1180,2560,1280" $tmpdir/rectangular.jpg

rm ${outdir}/*
cp ${tmpdir}/rectangular.jpg ${outdir}/rectangular_${randstring}.jpg
rm $tmpdir/rectangular.jpg
If you run this script from the terminal now then it should render an image in ~/Pictures/xplanet/ that looks a lot like the image at the top of this story, all good but how do we make OS X update the desktop? Well, first you run "crontab -e" again and this time you add this line:
*/10 * * * * /Users/yourhomedir/.xplanet/bgcreator.sh
This should render a new background in your output directory every ten minutes, now on to making OS X actually update the desktop.
OS X settings
We'll use a little "trick" to get OS X to reload the image. Right-click on your desktop and go to the settings for the desktop background, click the plus at the bottom left to add another directory to the list of image sources, add the "xplanet" directory from your Pictures directory, set the display type to "centered", make the filler color black and most importantly check the "Change picture" checkbox and set the update interval to five minutes. Now, since there is only one image in the directory OS X will dutifully reload this image every five minutes.
And we're done! Hopefully everything worked without any major glitches, if there are any errors in this guide then feel free to email me to tell me about them.
2012-06-16: I've updated the image links to working ones. Let's see how long these last. I've also updated the bgcreator.sh script to include the random string generation which seems to be needed on Lion in order to make it properly reload the desktop background.